What is a Dash Cam?
A dash cam is a camera mounted on the dashboard of your vehicle. It will capture footage of any incident or unexpected situation, such as a reckless driver or a car accident. Law enforcement officers and insurance companies can see vital footage to establish what took place and who is at fault.
Installing a dash cam can vary depending on the model and brand. The Garmin Dash Cam 67W is a popular dash cam as it strikes a good balance between design, functionality, cost and performance. These are just some of the factors you need to look at in making your choice. Other popular brands include Viofo, Nextbase and Rove.
Most dash cams are fairly easy to set up and power using your vehicle’s battery. You don’t have to start or stop recordings manually. They will start working as soon as you plug them into a 12V power source. You can also hardwire them into your vehicle’s electrical system.
7 Steps for Dash Cam Installation
1. Identify a Suitable Mounting Spot
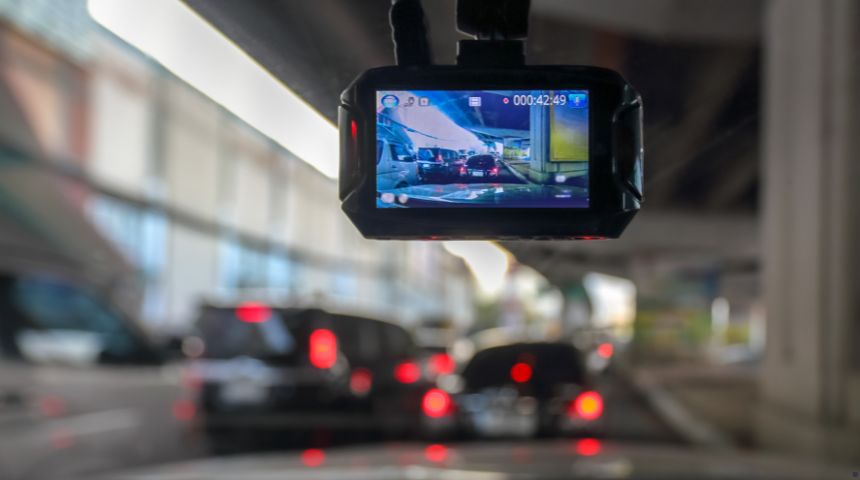
When placing a dash cam, it should be at the center of your windshield to maximize coverage. In some states, there are restrictions to the size and placement of objects on the windshield of your vehicle. In most cases, mounting the dash cam behind your rearview mirror is safe and reasonable. This ensures it's central to the vehicle and doesn’t obstruct the driver’s view while driving, capturing the best view of the road ahead.
A dash cam mount usually comes with a suction cup that stays attached without any problems. If it has a sticky back mount you need to take care to get the positioning right on your first attempt as you can’t remove it.
2. Locate a Power Supply
Many dash cams come with USB cables but it’s better to opt for the 12V lighter socket than the USB outlet to power a dash cam. Leaving a dash cam plugged into a constantly hot outlet can potentially drain the vehicle’s battery and lead to overcharging. Avoid just plugging in a dash cam and leaving the cable hanging. Route it along the edge of the windshield and dashboard to the power socket.
Hardwiring your dash cam involves running the power cable from the dash cam to the fuse box. In many cases, the fuse box is located underneath the dashboard below the steering column. Consult your manual to find out where it is if this isn’t the case. When you hardwire the dash cam, you free up the 12V socket for other electronics.

Related Search Topics (Ads)
3. Route the Power Cables
Routing the power cables within the interior panels of the vehicle means they are hidden from sight. To route the power cables, you need to understand the pillars or vertical supports in your vehicle. There are pillars from A to D, front to back. The A-pillar is in the front and often holds the windshield in place.
4. Routing Cable For a Front Dash Cam
If you tug on the rubber rim of the headliner along the A-pillar you can usually find a gap through which to run the cable. In most cases, you don’t need to remove the A-pillar altogether. Tuck the cable into the headliner in the direction of the power source. Run it down inside the A-pillar and to the fuse box. You can use adhesive cable clips to hold the cable in place.
5. Routing Cable For a Rear Dash Cam
The same installation process applies to the rear dash cam but you may need a longer cable. You will place the rear dash cam at the top center of your rear windshield and route the cable inside the headliner, continuing down the pillars until you reach the A-pillar. If you install a front and rear dash cam, route them in opposite directions to make sure they don’t overlap.
6. Locate a Fuse That is ‘Hot to Start’
If you want your dash cam to come on automatically when the vehicle is running and turn off automatically when it isn’t, you need to connect an add-a-circuit kit to the ‘hot in start’ fuse. This is a fuse that only has power when the vehicle is running. To identify a ‘hot to start’ fuse you can do a simple circuit-breaker check to establish when power is present.
Make sure you remove the key from the ignition. Use a pair of pliers to gently remove the fuse. Install the fuse into the add-a-fuse circuit and plug it into the empty spot where you found the fuse. Attach the negative terminal on your hard wire kit to an earth point. Without any cutting or soldering, your dash cam now has constant power.
7. After Installation
Insert your key in the ignition and turn the vehicle on to check if the installation works. Your dash cam should turn on and start recording. You can now configure settings such as resolution, date, time, recording times, etc. Check the device periodically to make sure it is securely mounted and inspect cables for wear and tear.
Get Rolling With Your Dash Cam
Dashcam installation doesn’t usually take that long. You can leave it to the pros if you aren’t sure of your skills but it isn’t that hard to do it yourself. Reading through the user manual first will make the process easier. The initial cost of a dash cam may be expensive but it can save you money over the long term. You will probably pay less on insurance premiums and you will have valuable evidence in the event of a car accident or any other incident on the road.